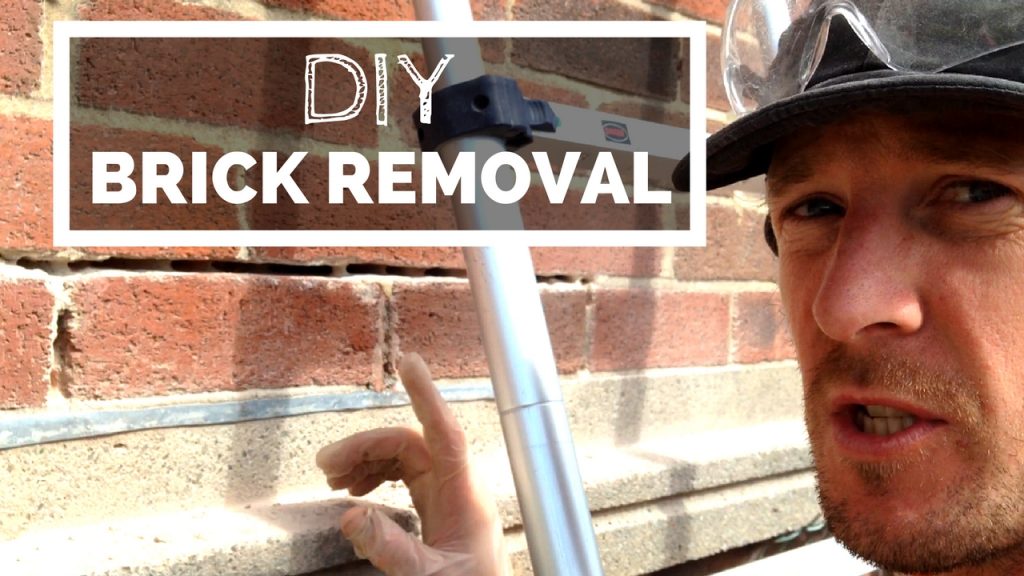
Brick removal is not a complicated job but the bricks themselves often get damaged during the removal process. In this post and associated short video I will demonstrate a brick removal method which keeps the bricks intact, allowing them to be reused.
Bricks are cheap and it might not seem like too big a deal if a few of them get damaged during a home improvement project. However, when you start to think about the full ramifications of this, you might change your mind:
- How many hours will you have to spend to source the correct bricks?
- How long will you have to drive to go and get them?
- Will you be able to find an exact match?
Isn’t it better to remove those bricks without damaging them, thereby saving yourself a ton of hassle? I certainly think so.
If you like getting stuck in to DIY projects and want to see how easy this is then watch my video ‘Brick removal: How to remove single bricks without damaging them’:
The video covers the following:
Tools required:
- SDS drill
- SDS masonry bit (8mm used in this video – 5/16″) *Varies according to the thickness of the masonry.
- SDS brick removal chisel (This is not always essential and if you don’t want to buy one you can get by without one, as mentioned in the video)
- Lump hammer
- Chisel (bolster)
Safety gear required:
- Safety specs
- Gloves
- Ear Plugs
- Dust mask
*You may think that some of this safety gear is not needed. This is your call, but when I was younger, I was using a sledge hammer to hammer a large chisel and a small shard of metal flew off, went right through my cotton overalls and embedded itself in my leg… Imagine what this would do to your eyeball! I also don’t fancy going deaf, and feel awful after getting a lung full of brick dust, so I prefer to take some simple precautions to look after myself.
Later in the video, I demonstrate the brick removal process step-by-step. My easy brick removal process is summarised below:
- Drill a series of holes (stitch drilling) around the brick, taking care not to damage the front face of the brick.
- Drill through the holes at an angle of approximately 30° to the face of the brickwork, thereby removing more mortar.
- Drill through the holes again at an angle of approximately 30° from the other side. If you don’t have a SDS brick removal chisel, keep drilling until the brick becomes loose.
- Use the SDS brick removal chisel to separate the brick to be removed from those around it.
- Use the lump hammer and chisel to coerce the brick out through the rectangular hole you have just created be careful so you don’t damage the brick.
You can then put the bricks to one side and use them again in the future. As mentioned in the video, you don’t want to take out more than a couple of bricks at a time. I took 23 bricks out of the front of the property in the video, but I did it in stages. I removed a couple of bricks at a time, completed the work in the cavity, and then refitted the bricks and waited until the mortar was dry before moving further along the line. Nobody wants to be remembered as ‘that person who made their house fall down’!
Take your time and start by removing just one brick. It’s really not difficult. Once you’ve done this a couple of times you will have your technique down to a T and will have a skill you can use for life.
Do you have any feedback, comments or suggestions? Do you know of a better way to remove bricks? Please leave your comments below.
I hope you found this post useful. If so, please help me put food on our dinner table by sharing it on social media.
Cheers!
Chris 👍
![]()


Leave a Reply