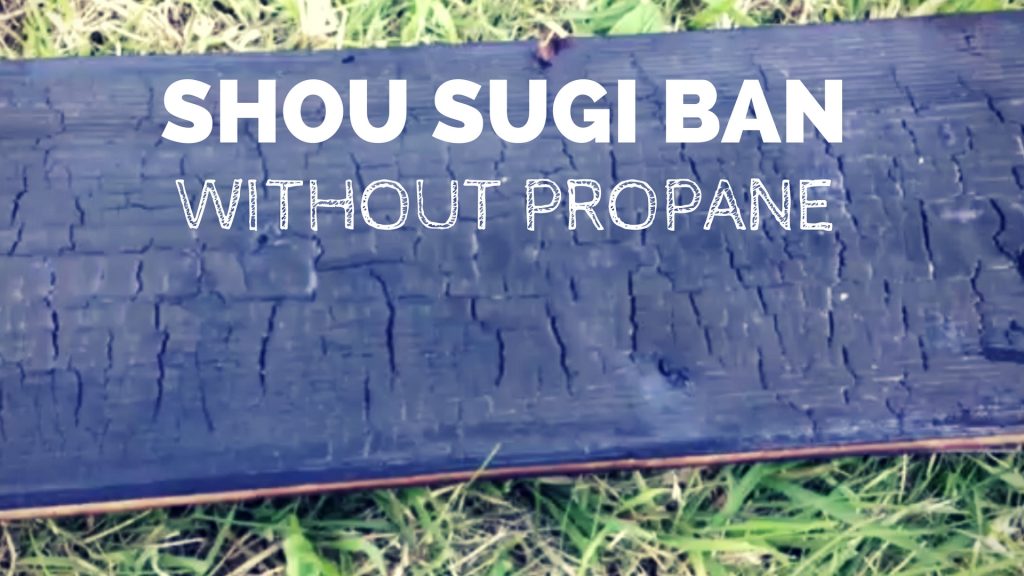
Shou Sugi Ban is an ancient Japanese technique of preserving wood by burning it. This post and associated video will show you how you can make charred wood at home, without having to go and buy or hire an expensive propane torch.
Shou Sugi Ban has been used to protect external cladding in Japan for centuries. The outer layer of the wood that will be exposed to the elements is burnt. This creates a layer of carbon which protects the underlying wood from ultraviolet light, attack by insects and water ingress. Perhaps counterintuitively, charred wood is also more fire resistant than it would be in its unburnt state.
What’s the best way make Shou Sugi Ban?
Most westerners use propane torches to burn the wood in question. This has the advantage of being quick, but there is a far more enviromentally friendly – and cheaper – way to do it!
Whilst researching the Shou Sugi Ban technique for a porch roof I was building, I stumbled across a Japanese language video on YouTube, documenting the traditional way of making Shou Sugi Ban. Of course, wood is a combustible material, so why not use the wood itself as the fuel for burning it?!
I used this traditional technique to create the charred wood for my porch roof fascia boards. I thought it would be useful for others if I made a step-by-step video showing exactly how you can do this too. Please see my video ‘Shou Sugi Ban – charred wood effect. A DIY Tutorial’ below:
My Shou Sugi Ban Technique can be summarised by the following steps:
- Step 1: Source your wood In Japan, Japanese Cedar (cryptomeria japonica – a.k.a. ‘Sugi’) has traditionally been the wood of choice for this technique. However, I chose a cheap redwood for my porch fascia board and I am very happy with the result obtained.
- Step 2: Get your tools and equipment together You will need: Combustible materials (e.g. Newspaper [or junk mail!] offcuts of wood or similar); a lighter / blow torch to light your fire; some wire (I scavenged some copper wire out of a ‘twin and earth’ electrical cable); some fireproof gloves; a bucket of water; a metallic object (an old butter knife or a metal bracket will work nicely) and some kind of fire pit made from a metal container or from some bricks. You could even dig a small hole in your garden and use that as a fire pit.
- Step 3: Lay 3 planks of your wood down on the ground You want to place the side you want to burn facing upwards. Now lift the two outside planks and lay them in a triangular shape, as shown in the video.
- Step 4: Secure the wood in the triangular chimney shape using your wire Use three pieces of wire and secure them by twisting the end of each piece of wire a few twists. By doing this, you won’t ‘work harden’ the wire too much and the same piece of wire can be reused many times.
- Step 5: Insert some twisted paper inside your chimney shape, top and bottom This will later catch fire and create a lot of heat in the internal space between the planks. This starts a chain reaction where the inside surface of your chimney formation will set fire and you will get a raging flame travelling up the chimney. Don’t put too much paper in – the chimney needs airflow past the paper to create an updraft.
- Step 6: Light your fire Set fire to the fuel in your fire pit. Put your fireproof gloves on as you will need them soon. If you also want to do a silly Japanese bow, now’s your chance!
- Step 7: Place your chimney shaped wood planks on top of the fire Let the fire burn up the inside of your planks. You’ll soon get the hang of this and you will know how long you need to wait before moving on.
- Step 8: Prize apart the planks with your metal tool When you have a lot of smoke and you can hear the fire trying to suck in more oxygen, prize apart the planks to let more air in. You will notice that the flames become more intense and the temperature in there gets very hot at this point. Fortunately, you are wearing fireproof gloves!
- Step 9: Flip the planks around 180 degrees The top will now become the bottom and this will help achieve a more even burn across the full length of your planks.
- Step 10: Quench time Remove your planks from the fire and lay them on the ground. Get your bucket of water and run along the length of the planks, dousing them with water to extinguish the fire.
- Step 11: Check the finish Now inspect your planks to see if you are happy with them. The finish required will vary on every project. I was going for a very burnt ‘crocodile skin’ effect. Some parts of the planks weren’t burnt as much as I wanted so I just made a liitle bonfire in my fire pit and slowly passed them through until I was happy. Depending on what you want, you can also brush off the loose charred layer and this will reveal a beautiful pattern below, where the growith rings become three dimensional thanks to differential burning of the fast growth and slow growth elements of the wood. You can also apply a finishing oil like Linseed oil, if you like.
I am very happy with how the fascia board on my porch roof turned out. I have since created a steampunk style copper pipe and charred wood clothes hanger for our house in the UK. My parents-in-law were coming to stay with us and we had no wardrobe in that room so I built this quickly to give them some clothes storage. It turned out great and has a cool antique vibe which fits in perfectly in that room. Rossella’s parents made great use of it during their stay and thought it was a great idea.
Now that I have discovered Shou Sugi Ban I have a feeling that every time I’m making anything out of wood, I’ll have the urge to burn it!
What do you plan to use this technique on? If you have any comments or questions then please feel free to add them below.
I hope this post and video have been useful to you. If so, please share it on social media to help me put food on our dinner table!
Cheers!
Chris 👍
![]()


Leave a Reply